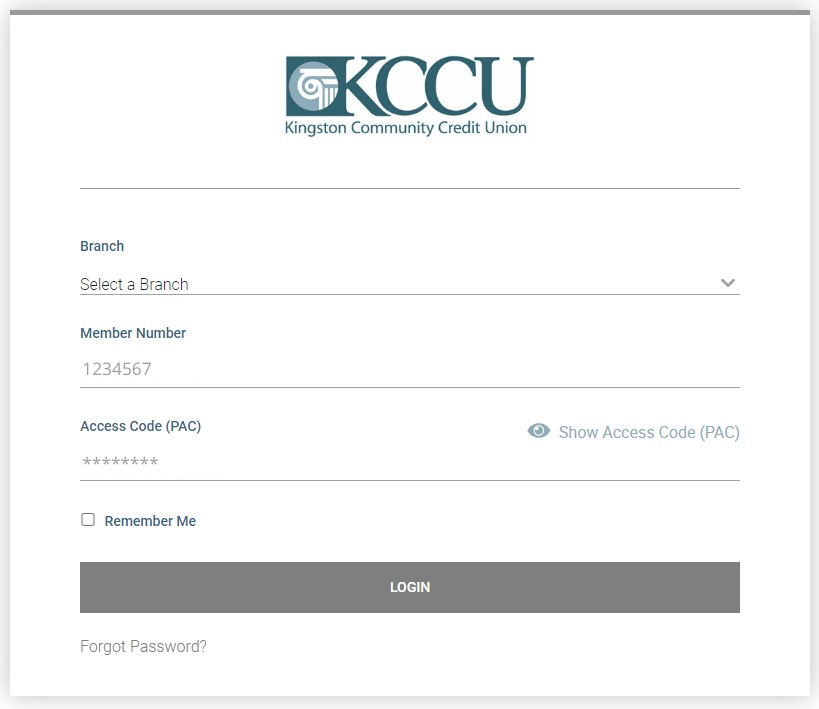
Login to desktop online banking or the mobile app using your Member number and your Personal Access Code (PAC).
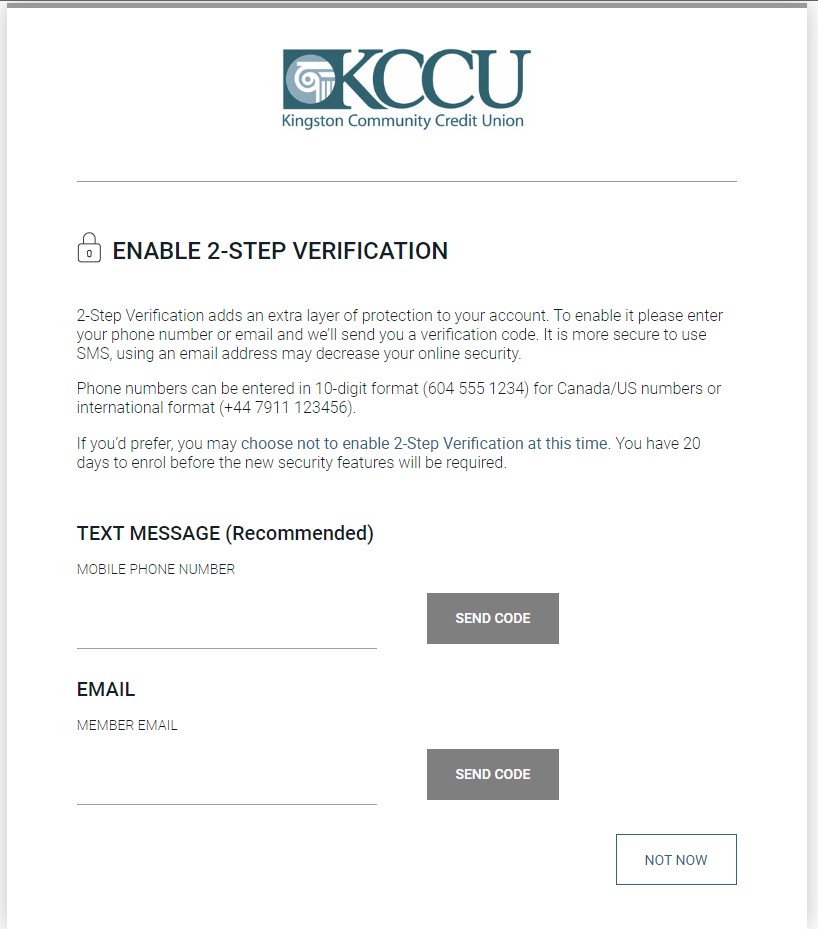
You will now see the Enable 2-Step Verification screen which will ask you to register either your mobile phone number or email address to receive verification codes. Enter your mobile phone number or email and click the Send Code button.
NOTE: If you would like to register both your email address and mobile phone number as contact methods, visit “Profile and Preferences” in desktop online banking or “Settings” in the mobile app once you are logged into online banking. By entering both contact methods, you will be able to choose how to receive verification codes when 2-Step Verification is required for future logins.
You will now see the Enable 2-Step Verification screen which will ask you to register either your mobile phone number or email address to receive verification codes. Enter your mobile phone number or email and click the Send Code button.
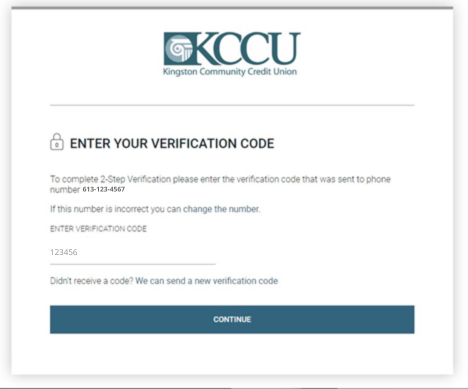
You will be sent a one-time verification code by email or text, depending on your selection (may take several minutes to receive). This code is valid for 10 minutes. If you selected email, please check your junk mail folder. Enter the verification code then click “Continue”.
If you do not receive the verification code, select “We can send a new verification code” to try again.

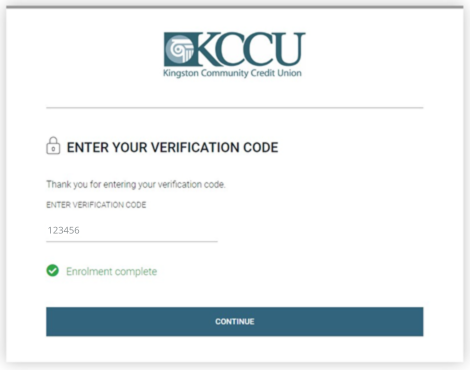
Once you have entered the correct verification code, you will see a green check mark and “Enrollment complete”. Click “Continue” again to enter online banking.
*NOTE: After setting up 2-Step Verification, you will have to reset your Touch ID/Face ID and Quick View options on the mobile app. Visit “Settings” in the app to turn on these options.